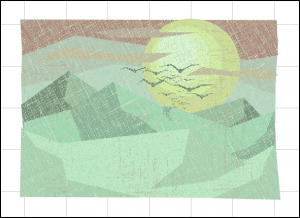
In SignLab, EngraveLab, and ProfileLab, you can use special effects to add texture to your images. This blog shows a couple of examples using two of those effects: Distressed and Distressed Frames. Distressed effects help create an aged, or weathered look to your images by adding noise and creases. You can use these effects in Digital Factory, but you’ll need to use the Jobs menu to launch the dialog.
To use the effects, you’ll need an image in your workspace.
1. Select the clip art or image in your workspace, then go to Image > Effects > Distressed (The Plug-in dialog will appear).
2. Select options in the Plug-in dialog and click OK (The Distressed dialog will appear).
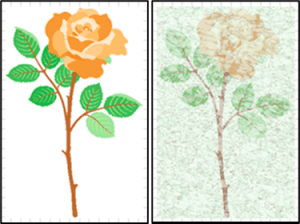
3. Select image desaturation, tint color, preset masks, and generated texture. The preview displays the effect as the slider is adjusted.
Hint: To see the original image, set the slider to 0.
4. If you’ve set a value higher than 0 for preset mask, select the mask from the list.
5. Select threshold light or dark colors and set the threshold, scale, and rotation.
6. For more tint options, select Advanced Mode.
7. Select the Generated Texture tab to select a texture color, horizontal and vertical streaks, thickness, noise, scale size, and texture contrast.
8. When finished applying effects, click OK.
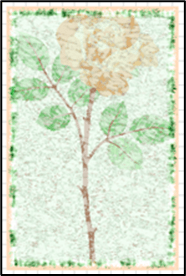
Another example including Distressed Frames
This example shows the Distressed effect filter and the Distressed Frames effect filter. You’ll need a vector graphic (SVG), available in the Clip Art Viewer.
Step One: Distressed Clip Art/Images
1. In a new workspace, add some clip art or an image.
2. Select all and go to Transform > Render to Bitmap.
3. Select the clip art on your workspace, then go to Image > Effects > Distressed. (The Plug-in dialog will appear.)
4. Select options in the Plug-in dialog and click OK. (The Distressed dialog will appear.)
5. Select effects until you achieve the look you desire and click OK.
Step Two: Distressed Frames
1. With the bitmap selected, go to Image > Effects > Distressed Frames.
2. Select the border color and edge tint or click Presets and select a pre-built distressed frame.
3. Play with the different effect sliders until you achieve the look you desire and click OK.