 There are two main reasons that you may need to tile a job: if the image to be printed exceeds the current media width, or to make larger jobs easier to handle. Breaking your jobs up into sections can sometimes make it easier to fit more jobs into a workspace. VPM works with a vast number of tiling options.
For example, in the layout manager you can opt to automatically tile large jobs on when importing, with the option to also set overlap properties of tiled jobs. With most jobs to be tiled, an overlap of around 10 millimetres (or half an inch) typically works well.
With these settings in place, return to your workspace. If you have a job that is larger than your media, you can start by sending it to VPM with:
- File
- Print & Cut
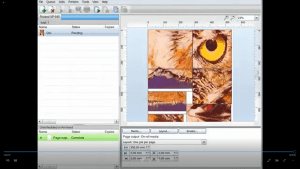
In VPM you’ll see the job has arrived and it’s been automatically tiled so that it will fit within the media limitations.
The position of tile lines is often crucial to a professional finish, and with this feature you are able to edit the tiling to fit your needs.
In addition to auto tiling, you can also tile any job by:
- Selecting it in the queue.
- Clicking the “Tile”” tab.
You can prevent tiling from splitting up important areas of your images. From the tiles tab, selecting “Rows and columns” will generate grids of tiling on your image. From there, selecting the option for “Manually” adjusting tiles lets you drag the tiling lines to where you want them, avoiding key areas of your design that cannot be broken up. You can also use this area of the dialog to add in any gaps or overlaps.
When you’re happy with your tiling results, click create, and the job will be tiled on your media, ready to print!