In SignLab, EngraveLab, and ProfileLab, when you select an object, you can find Weed Border and Power Weed in the Shape Tools.
In Digital Factory, Filmmaker, VPM, and Production Spooler, Weed Borders are set up in Queue Properties in the Production Markup tab.
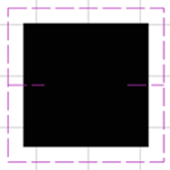 Weed Border and Power Weed create weed paths that help you remove vinyl from its backing. Weed Border creates a rectangular weed path around the object with a configurable border offset. Power Weed creates the same rectangular border but with an added center line with a configurable overlap.
SignLab, EngraveLab, ProfileLab
Weed Border: Select to create a weed border (an extra rectangular cut around the shape). Specify border offset.
Power Weed: Select to create weed border and horizontal and vertical mid-weed lines. Specify border offset and line overlap. To create new mid-weed lines, click the top or side edge of the object and drag the mouse horizontally or vertically.
Digital Factory, Filmmaker, VPM, Production Spooler
To set up a weed border (for example, when printing on a laser printer with A + B media):
- Go to Queue > Properties or Job > Properties.
- Select the Production Markup tab.
- Use the Select System drop-down and choose Weed Border Marks.
- Set the color, thickness, and offset (from graphics).
This can be set up on a job-by-job basis or set up in a queue so that it gets applied to all jobs.