By now, you are likely somewhat familiar with the queue based production workflow (you may also see it referred to as VPM, or “Visual Production Manager”) found in Digital Factory and FilmMaker packages. This system makes it easy to manage your prints with a simple layout, preview, and built in production tools.
If you aren’t aware of the power of the queue, take a look at the layout:
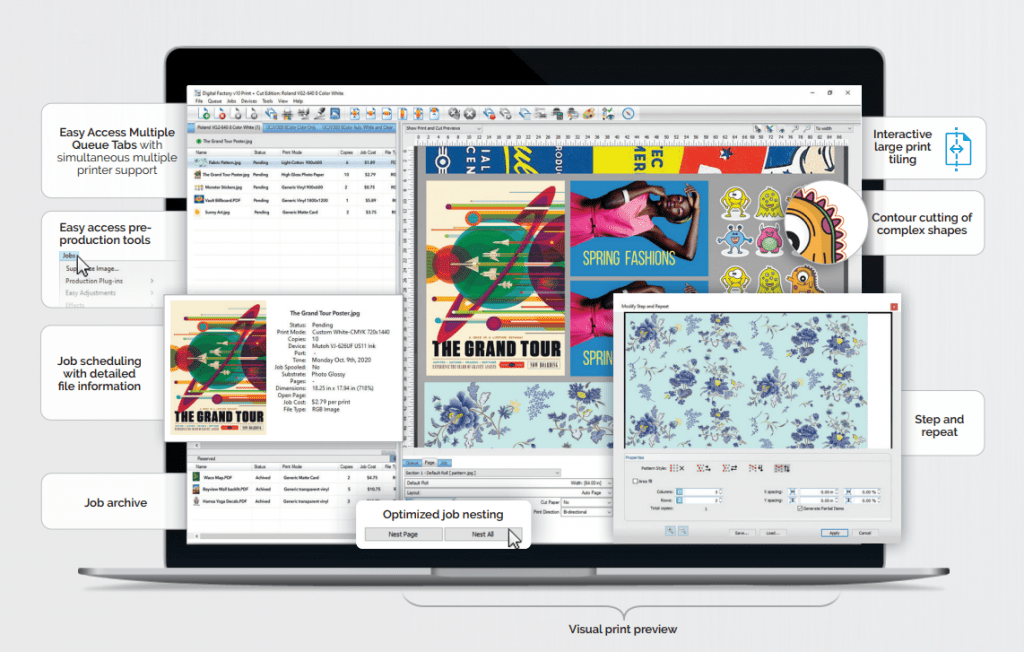
One of the most powerful areas is the queue itself. Lets take a closer look at some of the features and functions found under the queue tab.
The Queue tab
The Queue tab controls apply to the current queue. Use the drop-downs to make selections about media type, size, and layouts.
Set the print quality, paper, direction, carriage width, pass delay, white passes, queue margins, etc.
Note: Options vary by device.
Click Substrate Color to set the substrate color of the queue.
Note: Ensure no jobs are selected, or the color will be set per job.
To add new media or configure added media, click the ellipsis ( )button. The Media Setup dialog appears. Depending on the media, you may see the Media Setup dialog or the Template Setup dialog.
- Enter a name, size, and margins.
To configure template media, click the ellipsis button () next to the template drop-down. The Template Setup dialog appears (unless you are using a default template). See Template Setup dialog.
In the Template properties section, enter a name and specify the dimensions, or select a sheet as a base.
In the Slot configuration section, specify the size of a slot (the expected size of a placed job).
Note: Define the alignment, scaling, and rotate settings prior to creating copies so changes are applied universally.
Color Adjust
To adjust Queue color, click to open the Easy Color Adjustments dialog. Available options are device dependent.
- Use the sliders to control lightness and darkness for hues, ink levels, brightness, saturation, and chroma.
- Select ICC Setting, Photo, or Graphics.
- Set the highlight strength and switch layers (if applicable) to set the maximum ink coverage for the underbase, the choke (to limit the spread of the primer layer), and the strength.
- Ink Removal (available in OKI and DTG)
Getting started with a more efficient and powerful production is easy with the queue!